Skip to product information
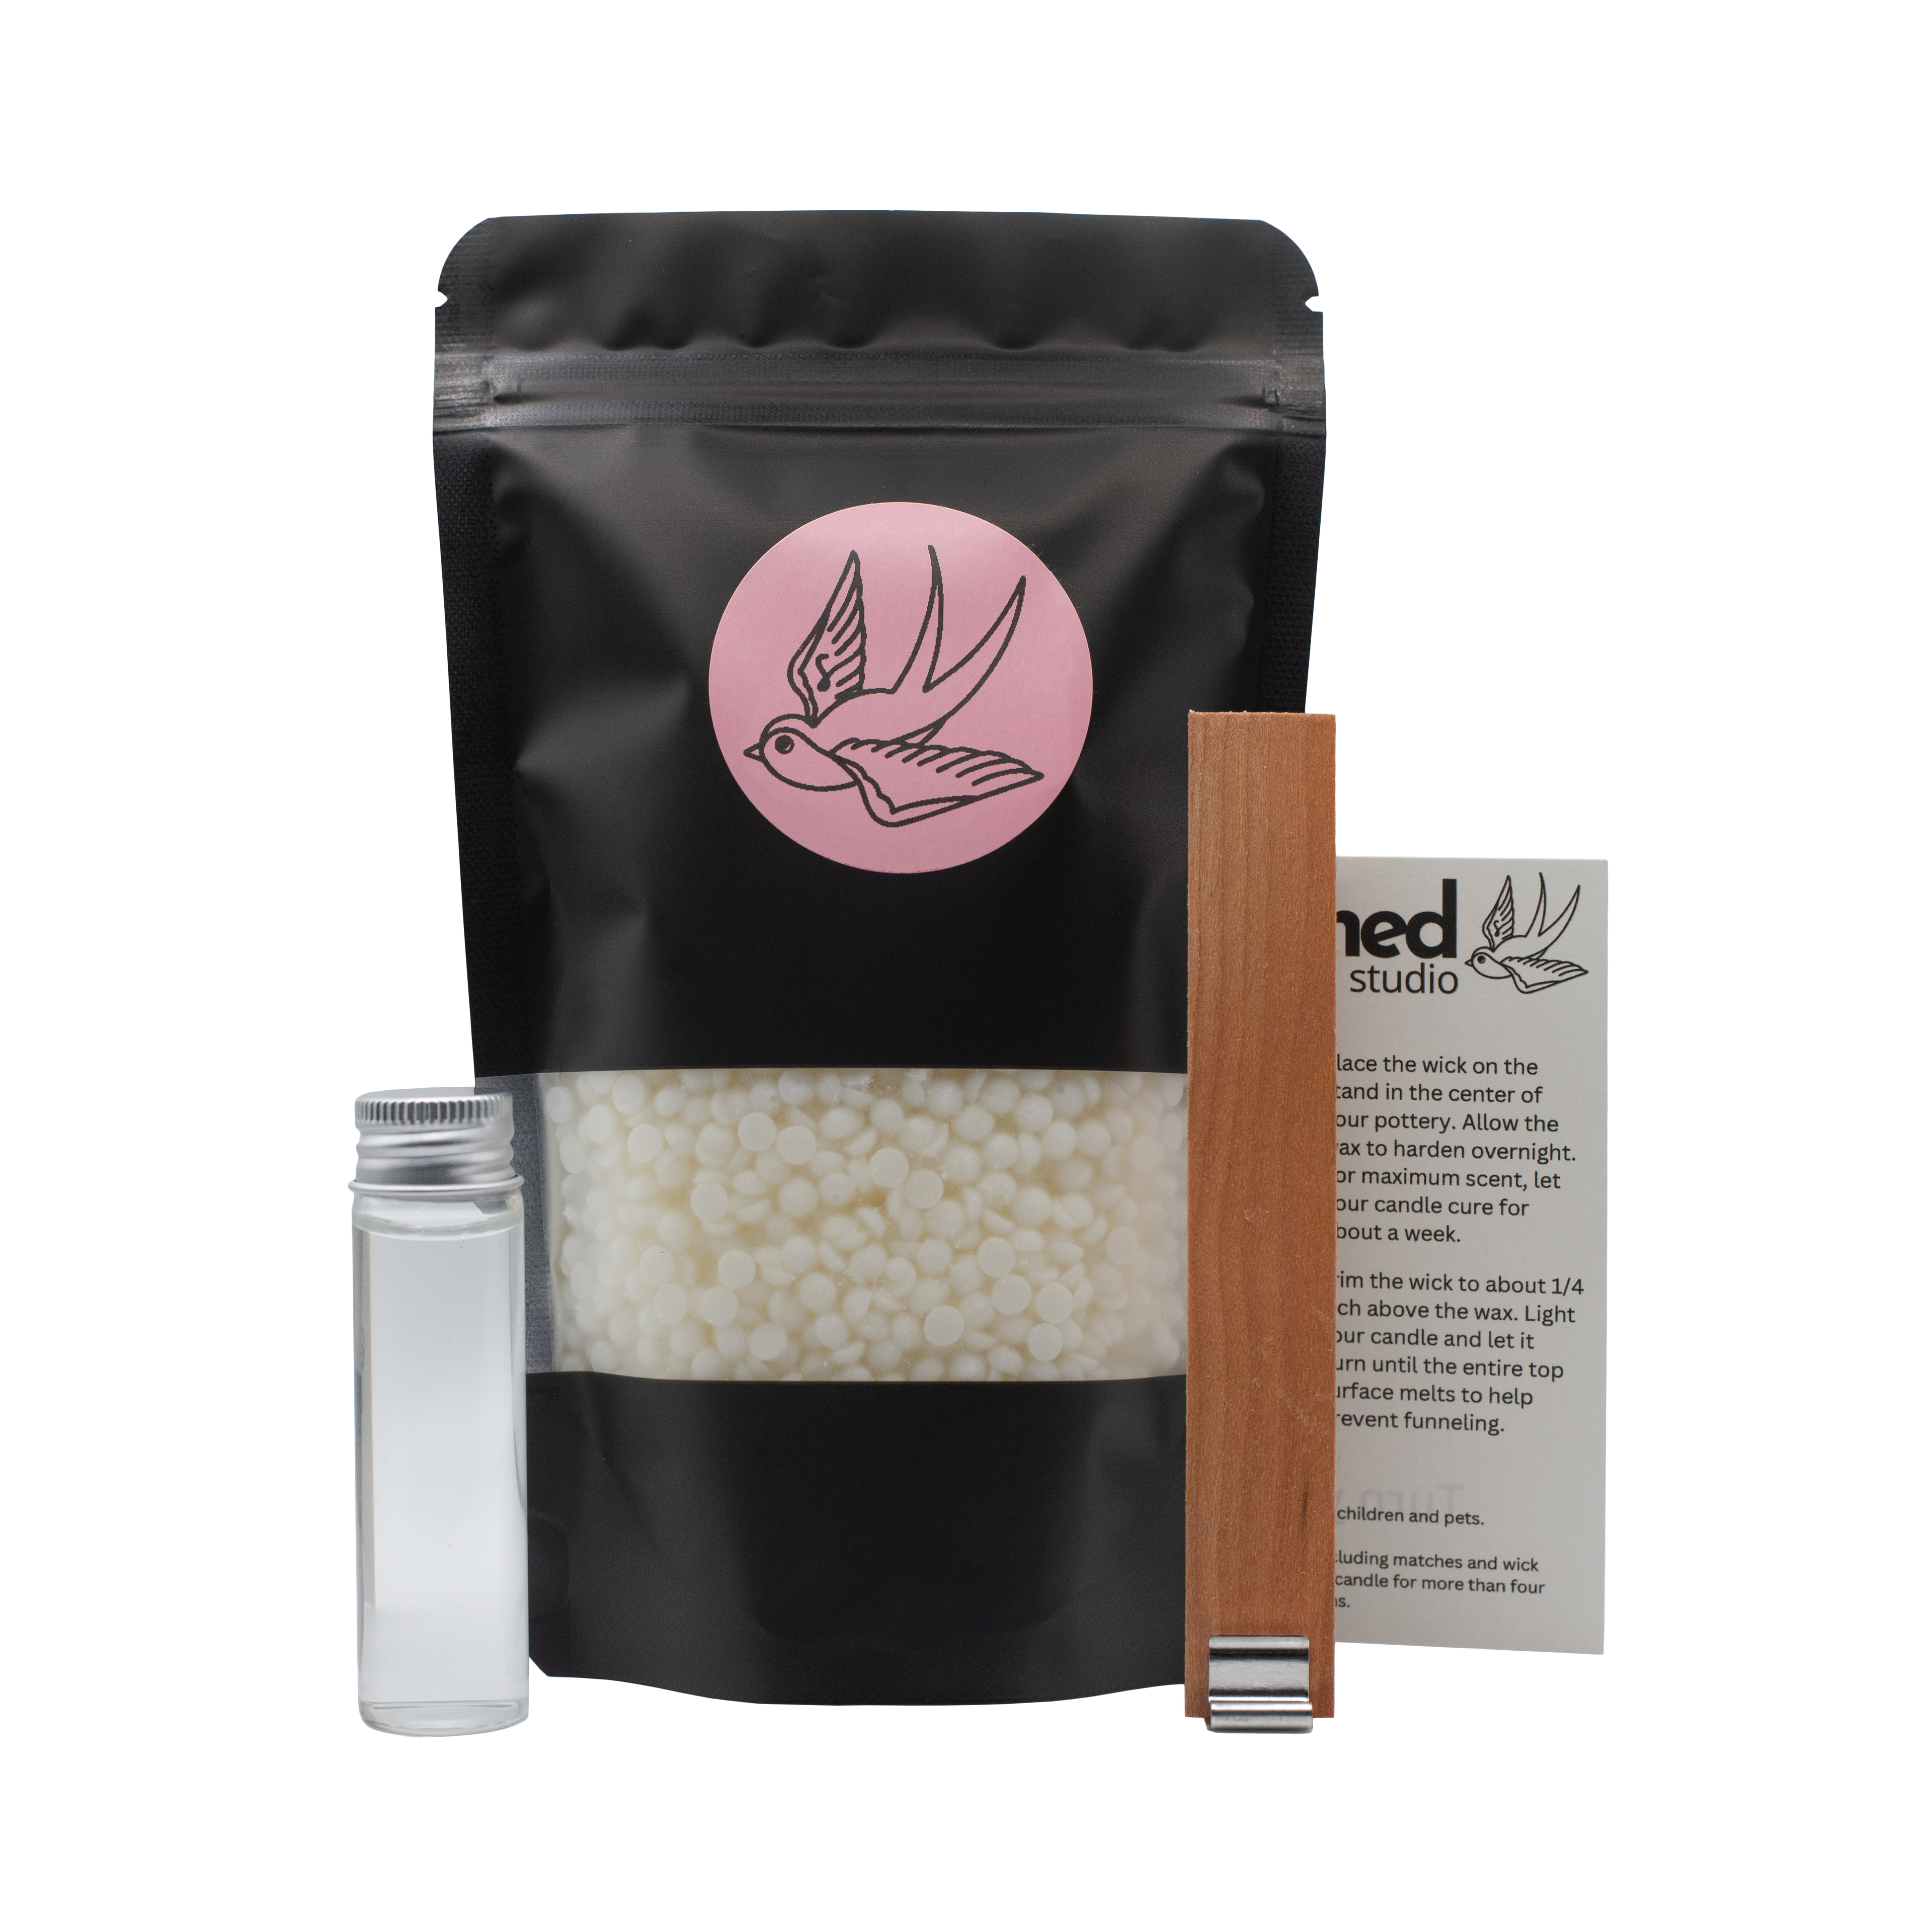

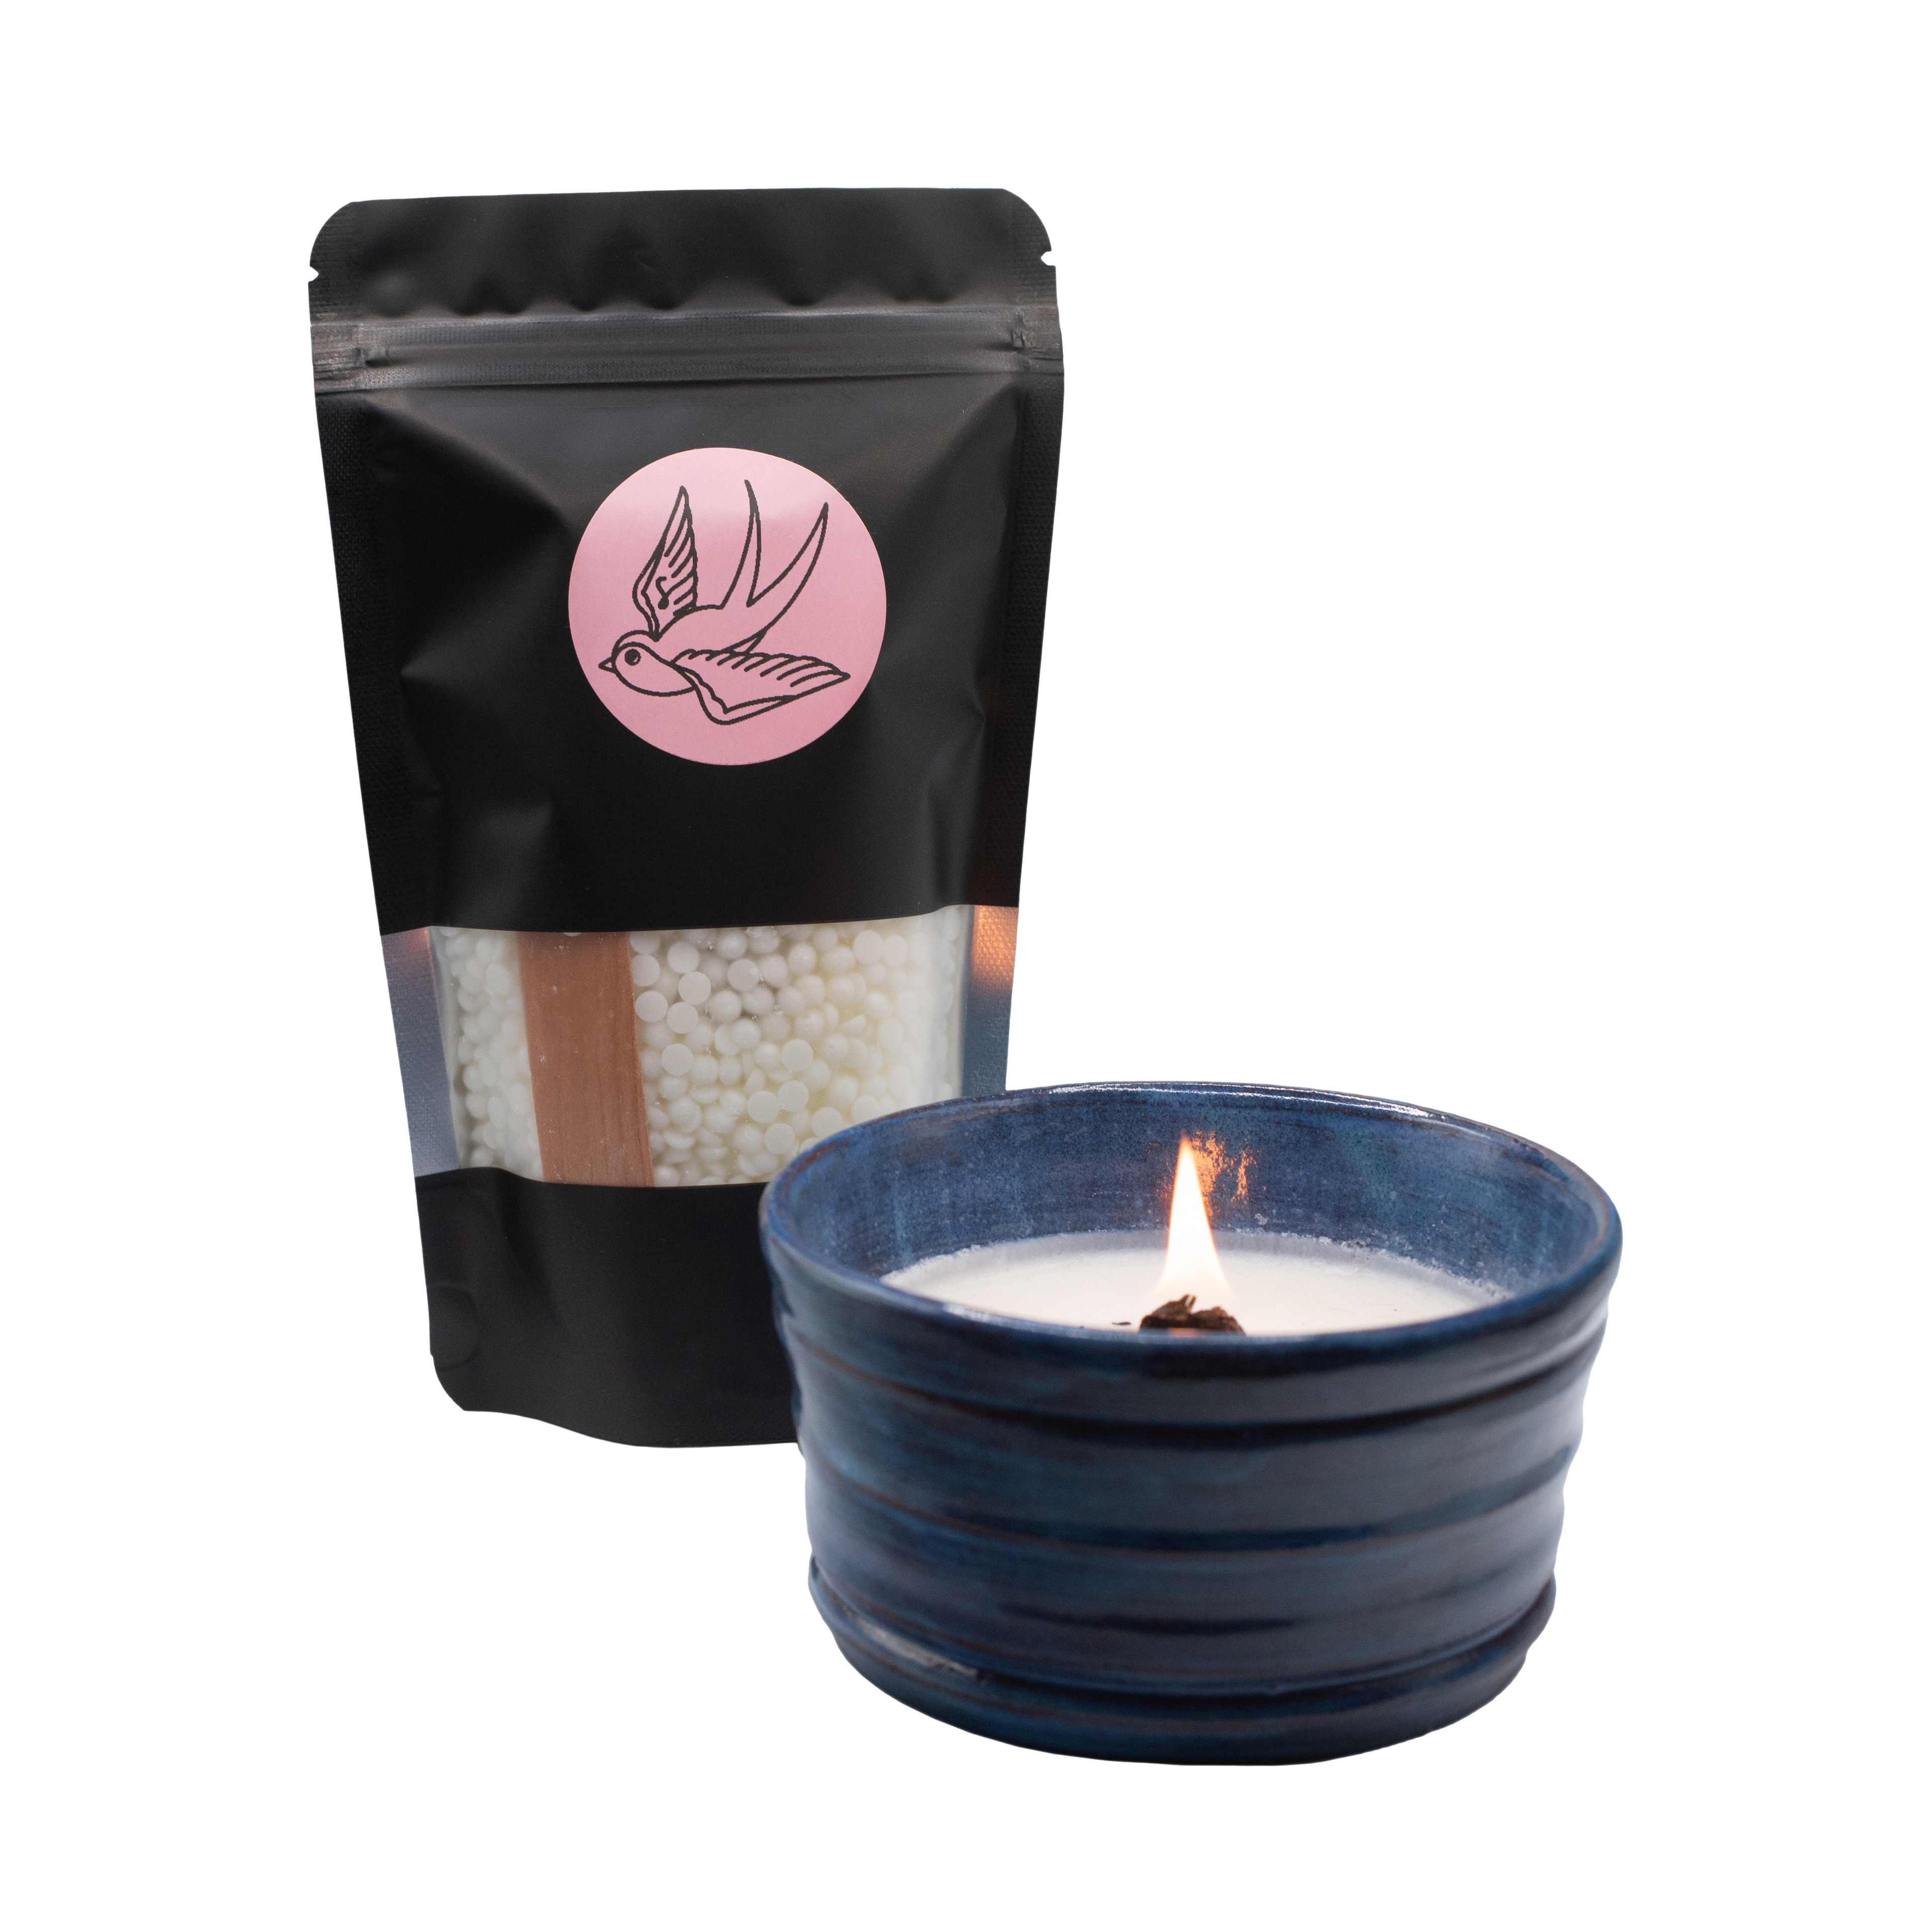
DIY Candle
Each candle kit contains all the essentials to create an 8-ounce candle: soy-based wax, fragrance, a wooden wick, and a wick stand. Easily turn your handmade pottery into a beautiful, clean-burning candle.
*Pottery not included
$16.50