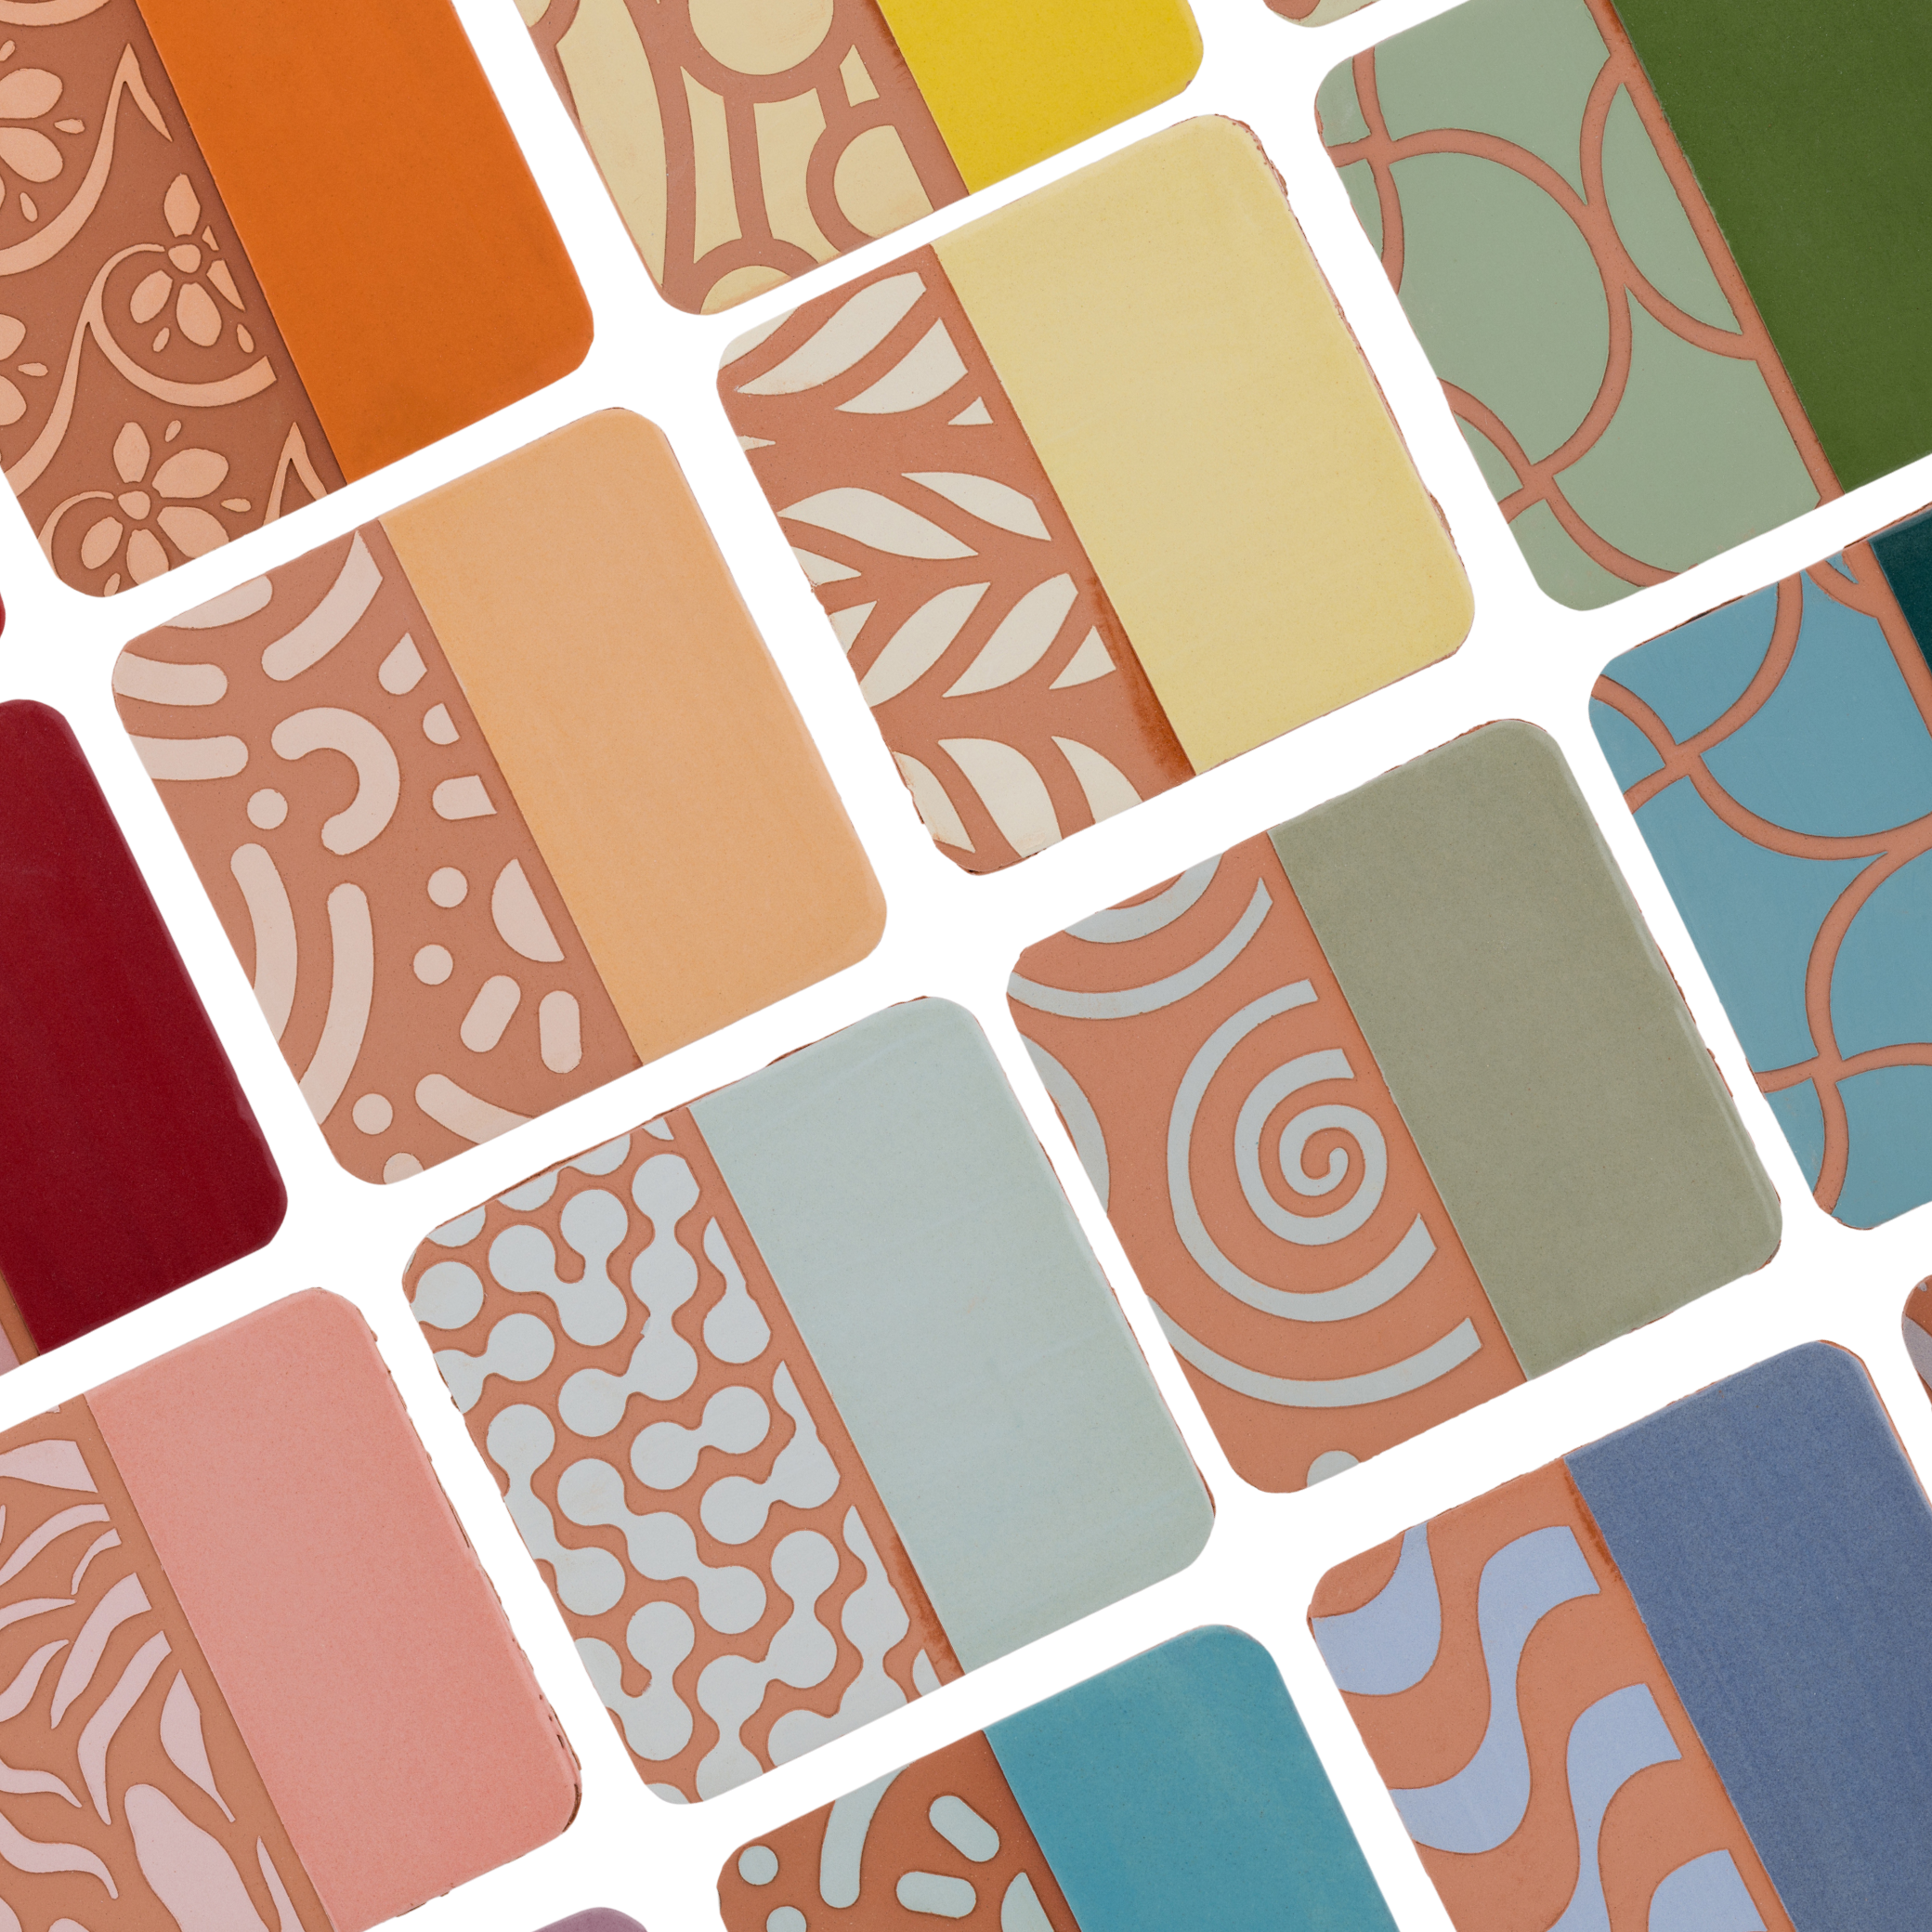
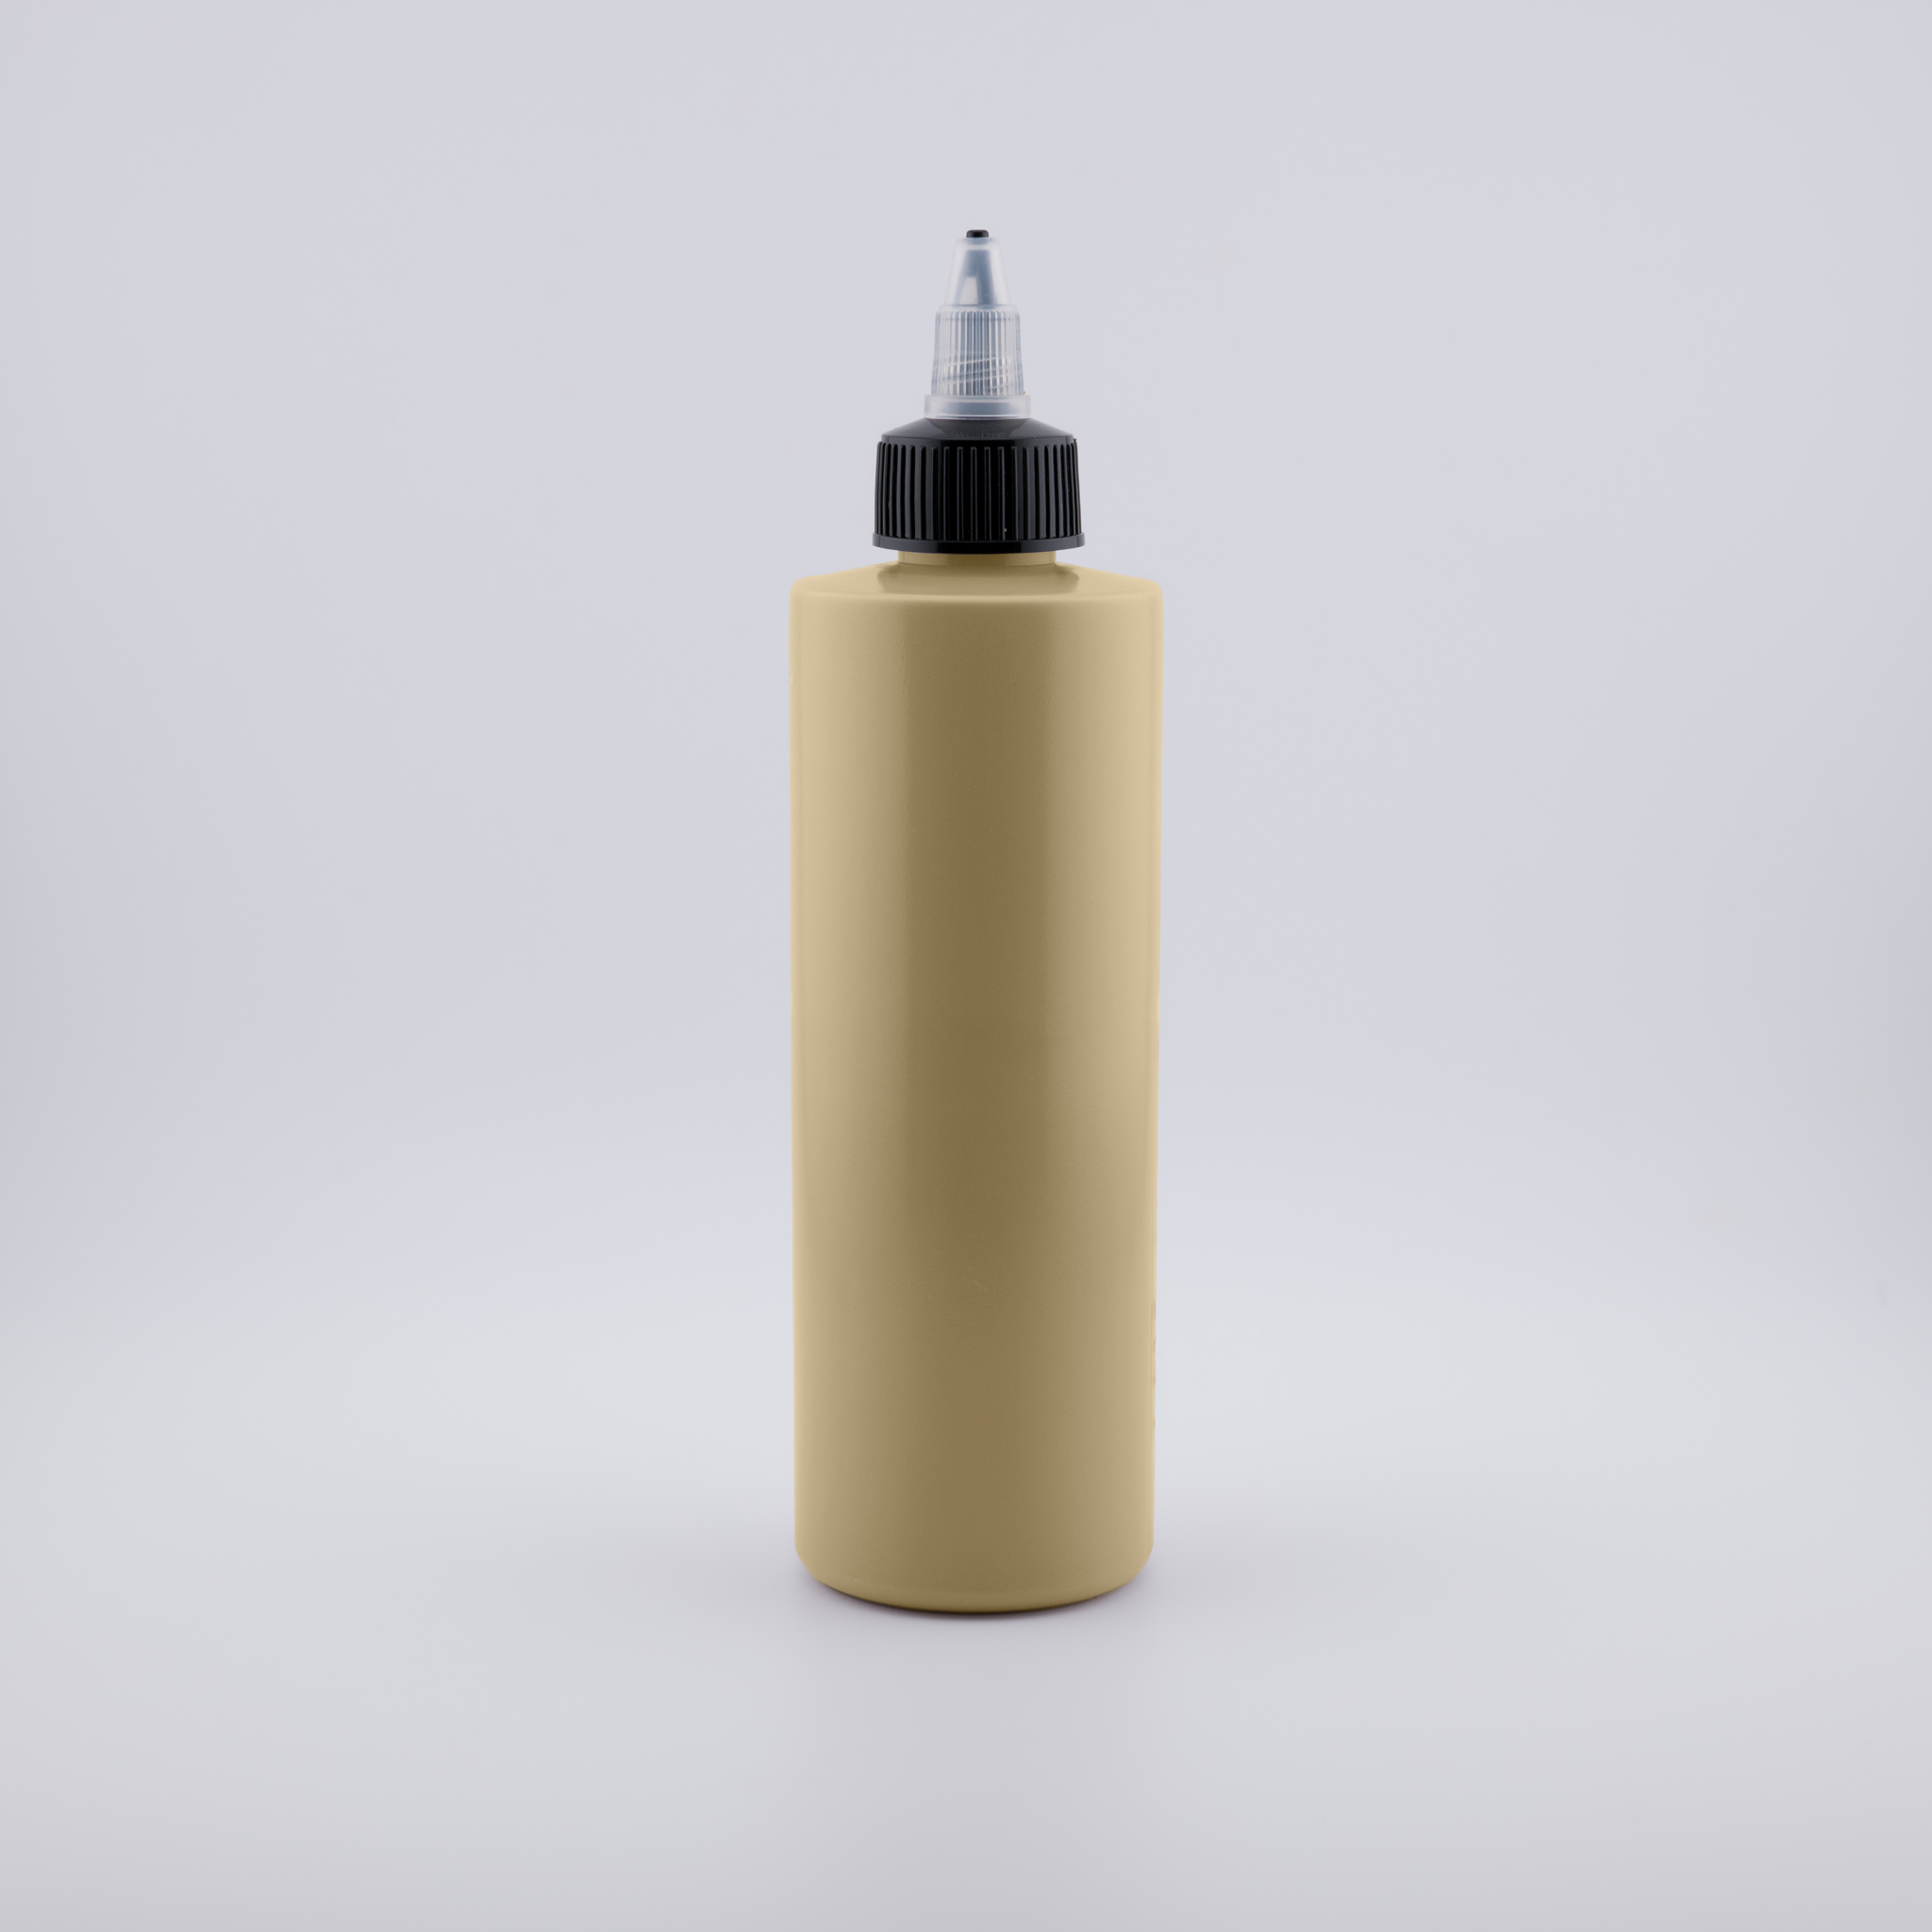
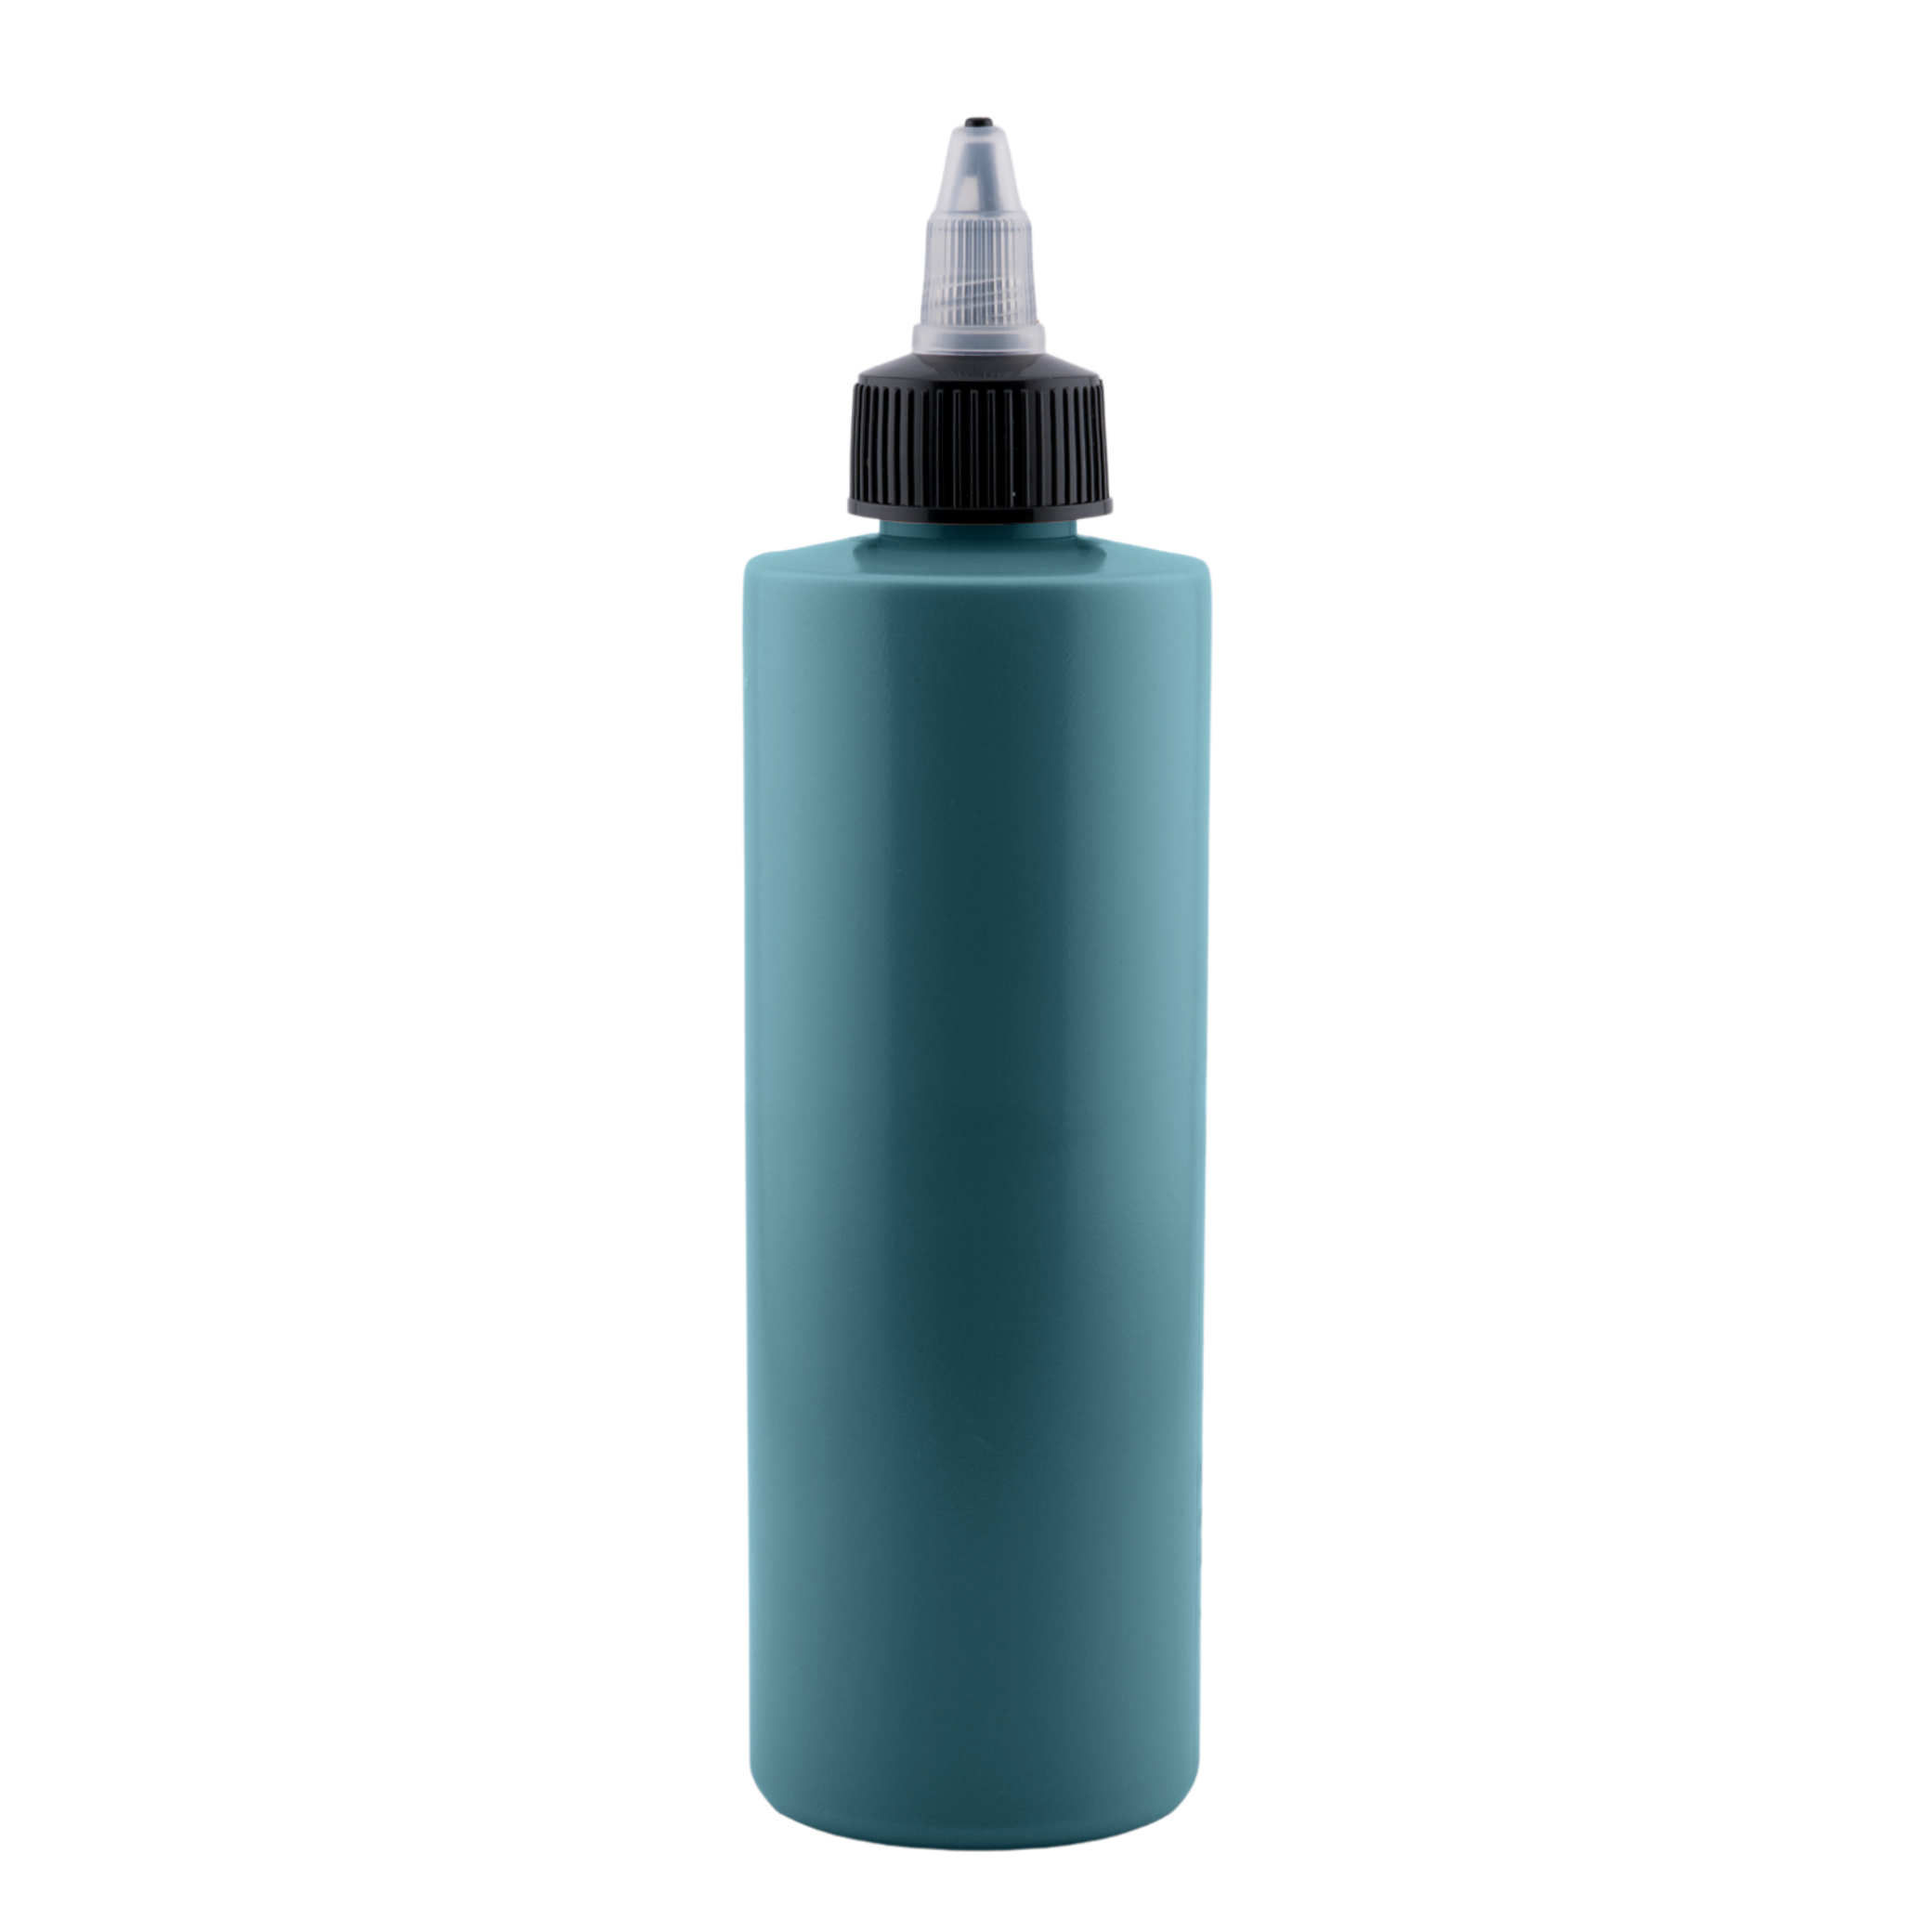
Colored Slip
-
Ivy Colored Slip -
Sunshine Colored Slip -
BlueSky Colored Slip -
Peacock Colored Slip -
Turquoise Dream Colored Slip -
Sunset Colored Slip -
Cherry Pop Colored Slip -
Midnight Colored Slip -
Key Lime Colored Slip -
Brick House Colored Slip -
Buttercream Colored Slip -
Espresso Colored Slip -
Denim Days Colored Slip -
Seafoam Colored Slip -
Mist Colored Slip -
Aura Colored Slip -
Coral Reef Colored Slip -
Blush Colored Slip -
Rose Garden Colored Slip -
Cool Mint Colored Slip -
Peachy Keen Colored Slip -
Bubblegum Colored Slip -
Berry Blush Colored Slip -
Slush Colored Slip


Run a PYOP OR POTTERY STUDIO?
See how we use these tools to streamline try-it classes and how to order customized tools with your logo.
FAQs
What's the difference between colored slip and underglaze, and which should I use?
Do I need different slips for different firing temperatures?
Can I mix colors together, and will they fire predictably?
How do I prevent cracking or peeling, especially on bisqueware?
Is this food-safe for functional pottery, and do I need to glaze over it?
WHAT CAN I MAKE WITH COLORED SLIP?
SLIP TRAILING (PIPING)
What it looks like: Raised decorative lines and dots creating dimensional patterns, from delicate botanical designs to bold geometric borders—like piping icing on a cake but permanent.
How to do it: Load colored slip into a squeeze bottle or slip trailing bulb with a fine tip. Hold the bottle at 45 degrees just above the leather-hard clay surface, applying steady pressure as you move to create continuous lines. For dots, squeeze and lift straight up quickly. Layer different colors once the first application firms up (about 10 minutes). Works beautifully for Celtic knots, mandala patterns, or freehand florals.
Sgraffito (Scratch-Through)
What it looks like: Crisp carved designs where your tool cuts through colored slip to reveal contrasting clay beneath, creating graphic two-tone illustrations or intricate patterns.
How to do it: Apply 2-3 coats of colored slip to leather-hard clay, allowing each coat to dry to a matte finish. Wait until the slip returns to leather-hard consistency (usually 20-30 minutes). Use a needle tool, trimming tool, or sgraffito tool to carve through the slip layer, revealing the clay color beneath. Clean your tool frequently for sharp lines. This technique is perfect for detailed illustrations, typography, or geometric patterns.
Marbling (Agateware Effect)
What it looks like: Swirled, organic patterns reminiscent of marble stone or agate, with colors blending and flowing into each other creating one-of-a-kind patterns.
How to do it: Pour small puddles of 2-4 different colored slips onto a leather-hard slab or inside a bowl.
Tilt and rotate the piece to let colors flow and merge naturally, or use a tool to gently swirl them together. For more control, brush on stripes of different colors then drag a tool perpendicular through them. Don't overmix or colors will turn muddy. Each piece becomes completely unique with this technique.
Stencil Printing
What it looks like: Crisp, repeatable patterns with clean edges—from geometric shapes to intricate mandalas—appearing as smooth color on your clay surface.
How to do it: Position your stencil on leather-hard clay and hold firmly (or use temporary adhesive spray on the back). Dab colored slip through the stencil openings using a dense sponge with a patting motion—never brush sideways.
Apply 2-3 light coats rather than one heavy coat to prevent bleeding under edges. Carefully lift the stencil straight up while slip is still wet. Layer different stencils and colors once each application dries for complex multi-colored designs.