
PROJECT INSTRUCTIONS
GET READY
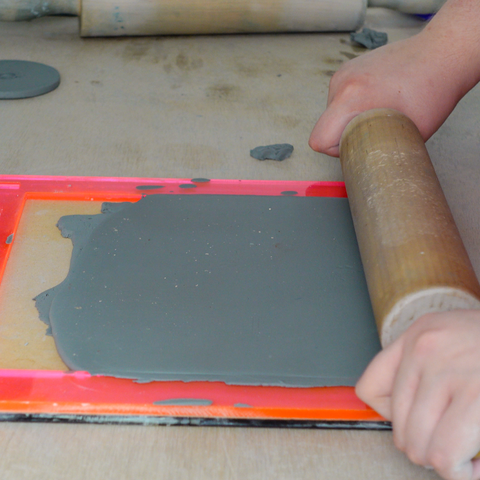
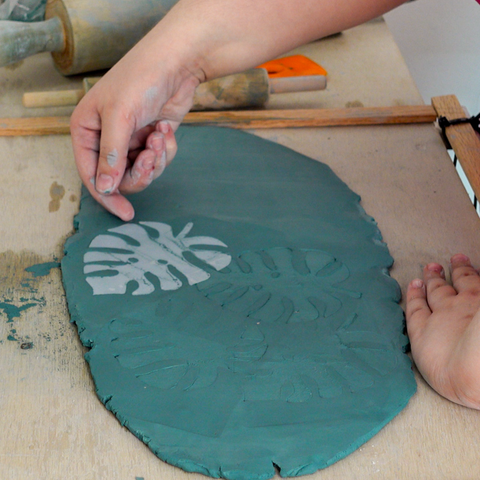
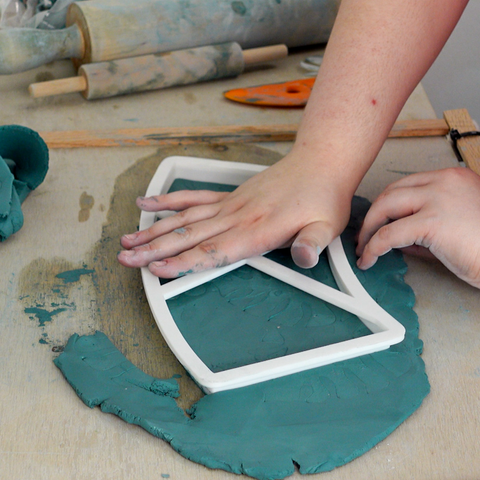
MAKE IT
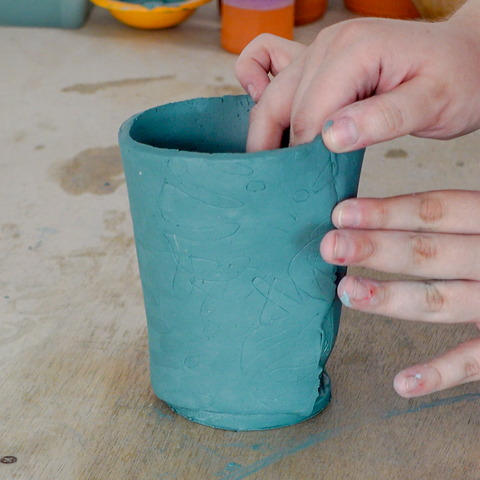
LOVE IT
SHARE IT