Skip to content
Home
Shop
All Pottery Supplies
Colored Slip
Profile Tools
Clay Stencils
Clay Cutters
Printable Clay Templates
Texture Tools
Kits + Sets
Sale + Clearance
Experiences
Couples Challenge
Pottery Experiences
Summer Camp
Kids Experiences
Parties + Events
Find a Studio
Gift Cards
Work with Us
Wholesale
Affiliate + Ambassador Program
About Us
More
Account
Other sign in options
Sign in
Orders
Profile
Account
Other sign in options
Sign in
Orders
Profile
Total items in cart: 0
0
Your cart is empty
Have an account?
Log in
to check out faster.
Continue shopping
Skip to product information
Open image in full screen
Close
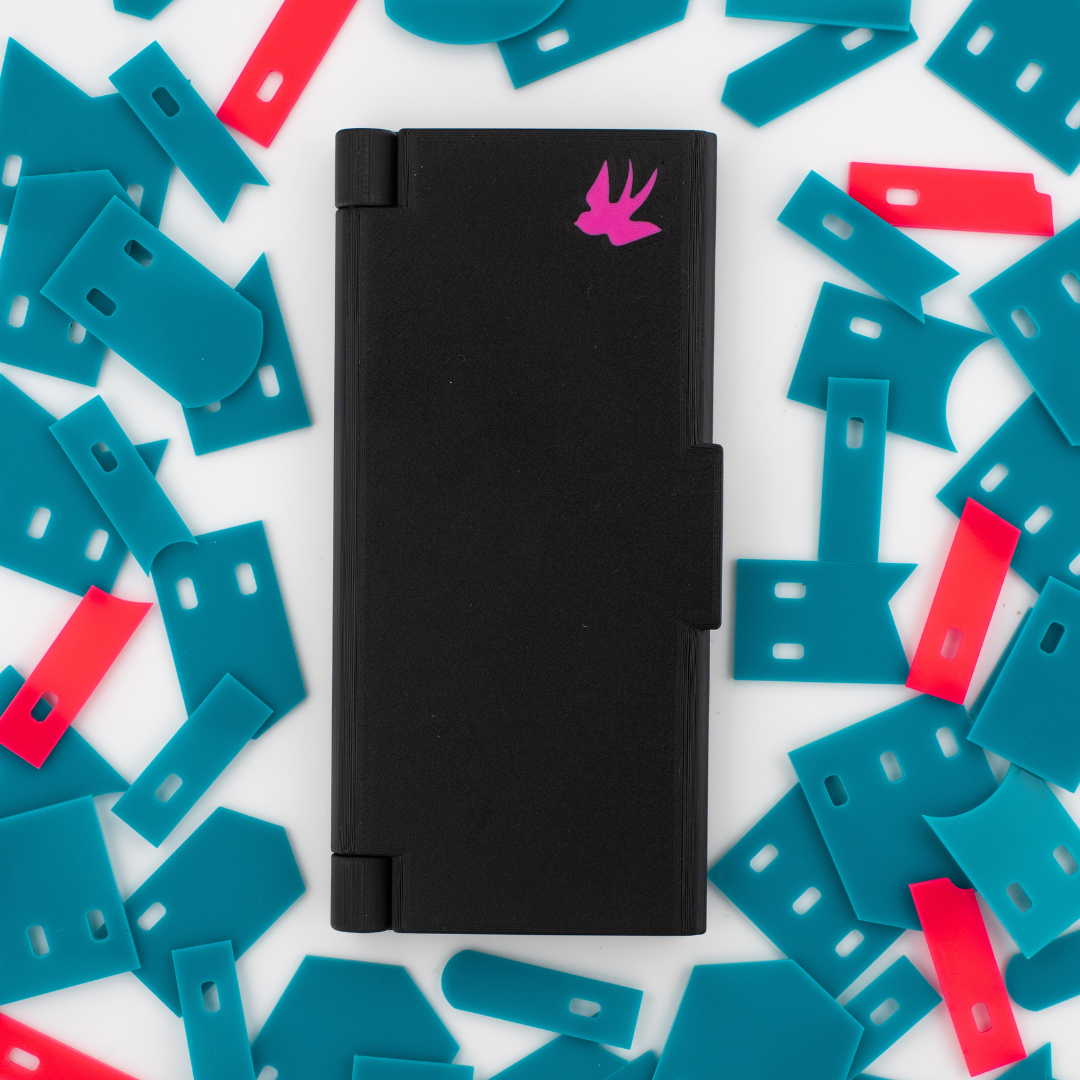
Your New RibIt
Your New RibIt
$0.00
Decrease quantity
Increase quantity
Add to cart
Added
Search
Search
Clear